
May 2024
Hope Mission
May 2024
Hope Mission
Hope Mission Instructions
Step 1
Gather your supplies: colored paper, scissors, glue stick, tape, straws

Step 2
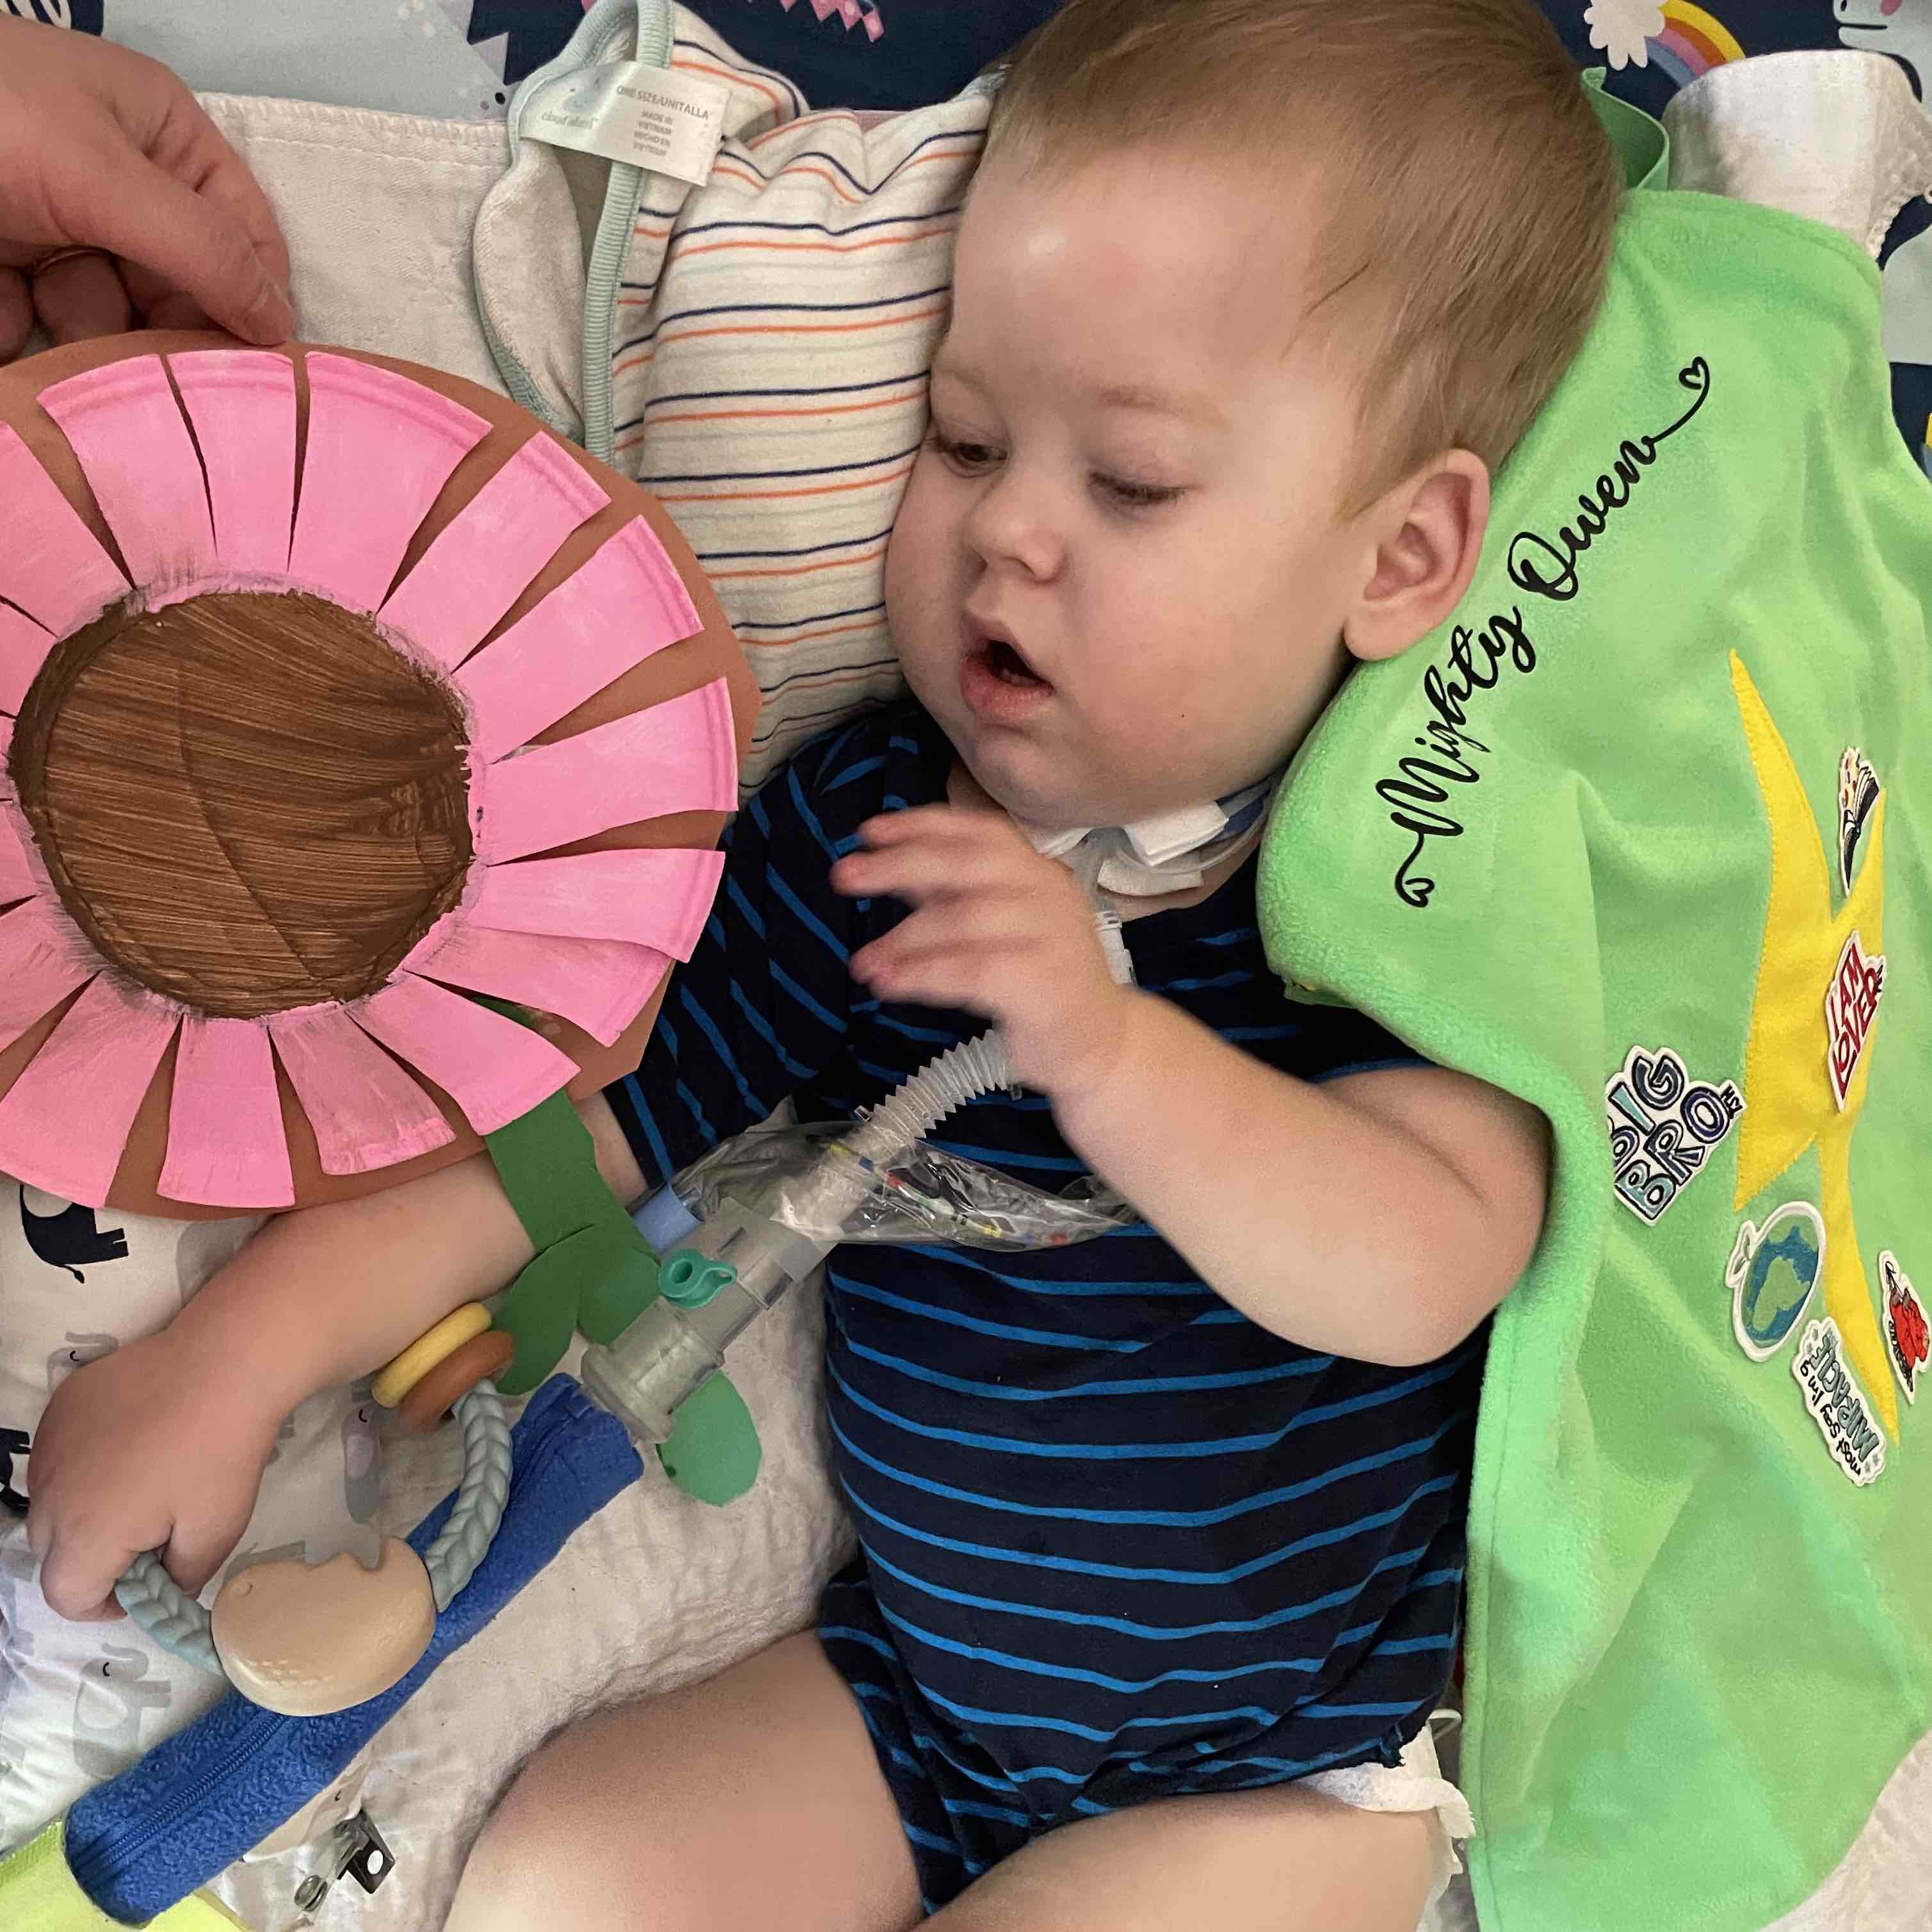
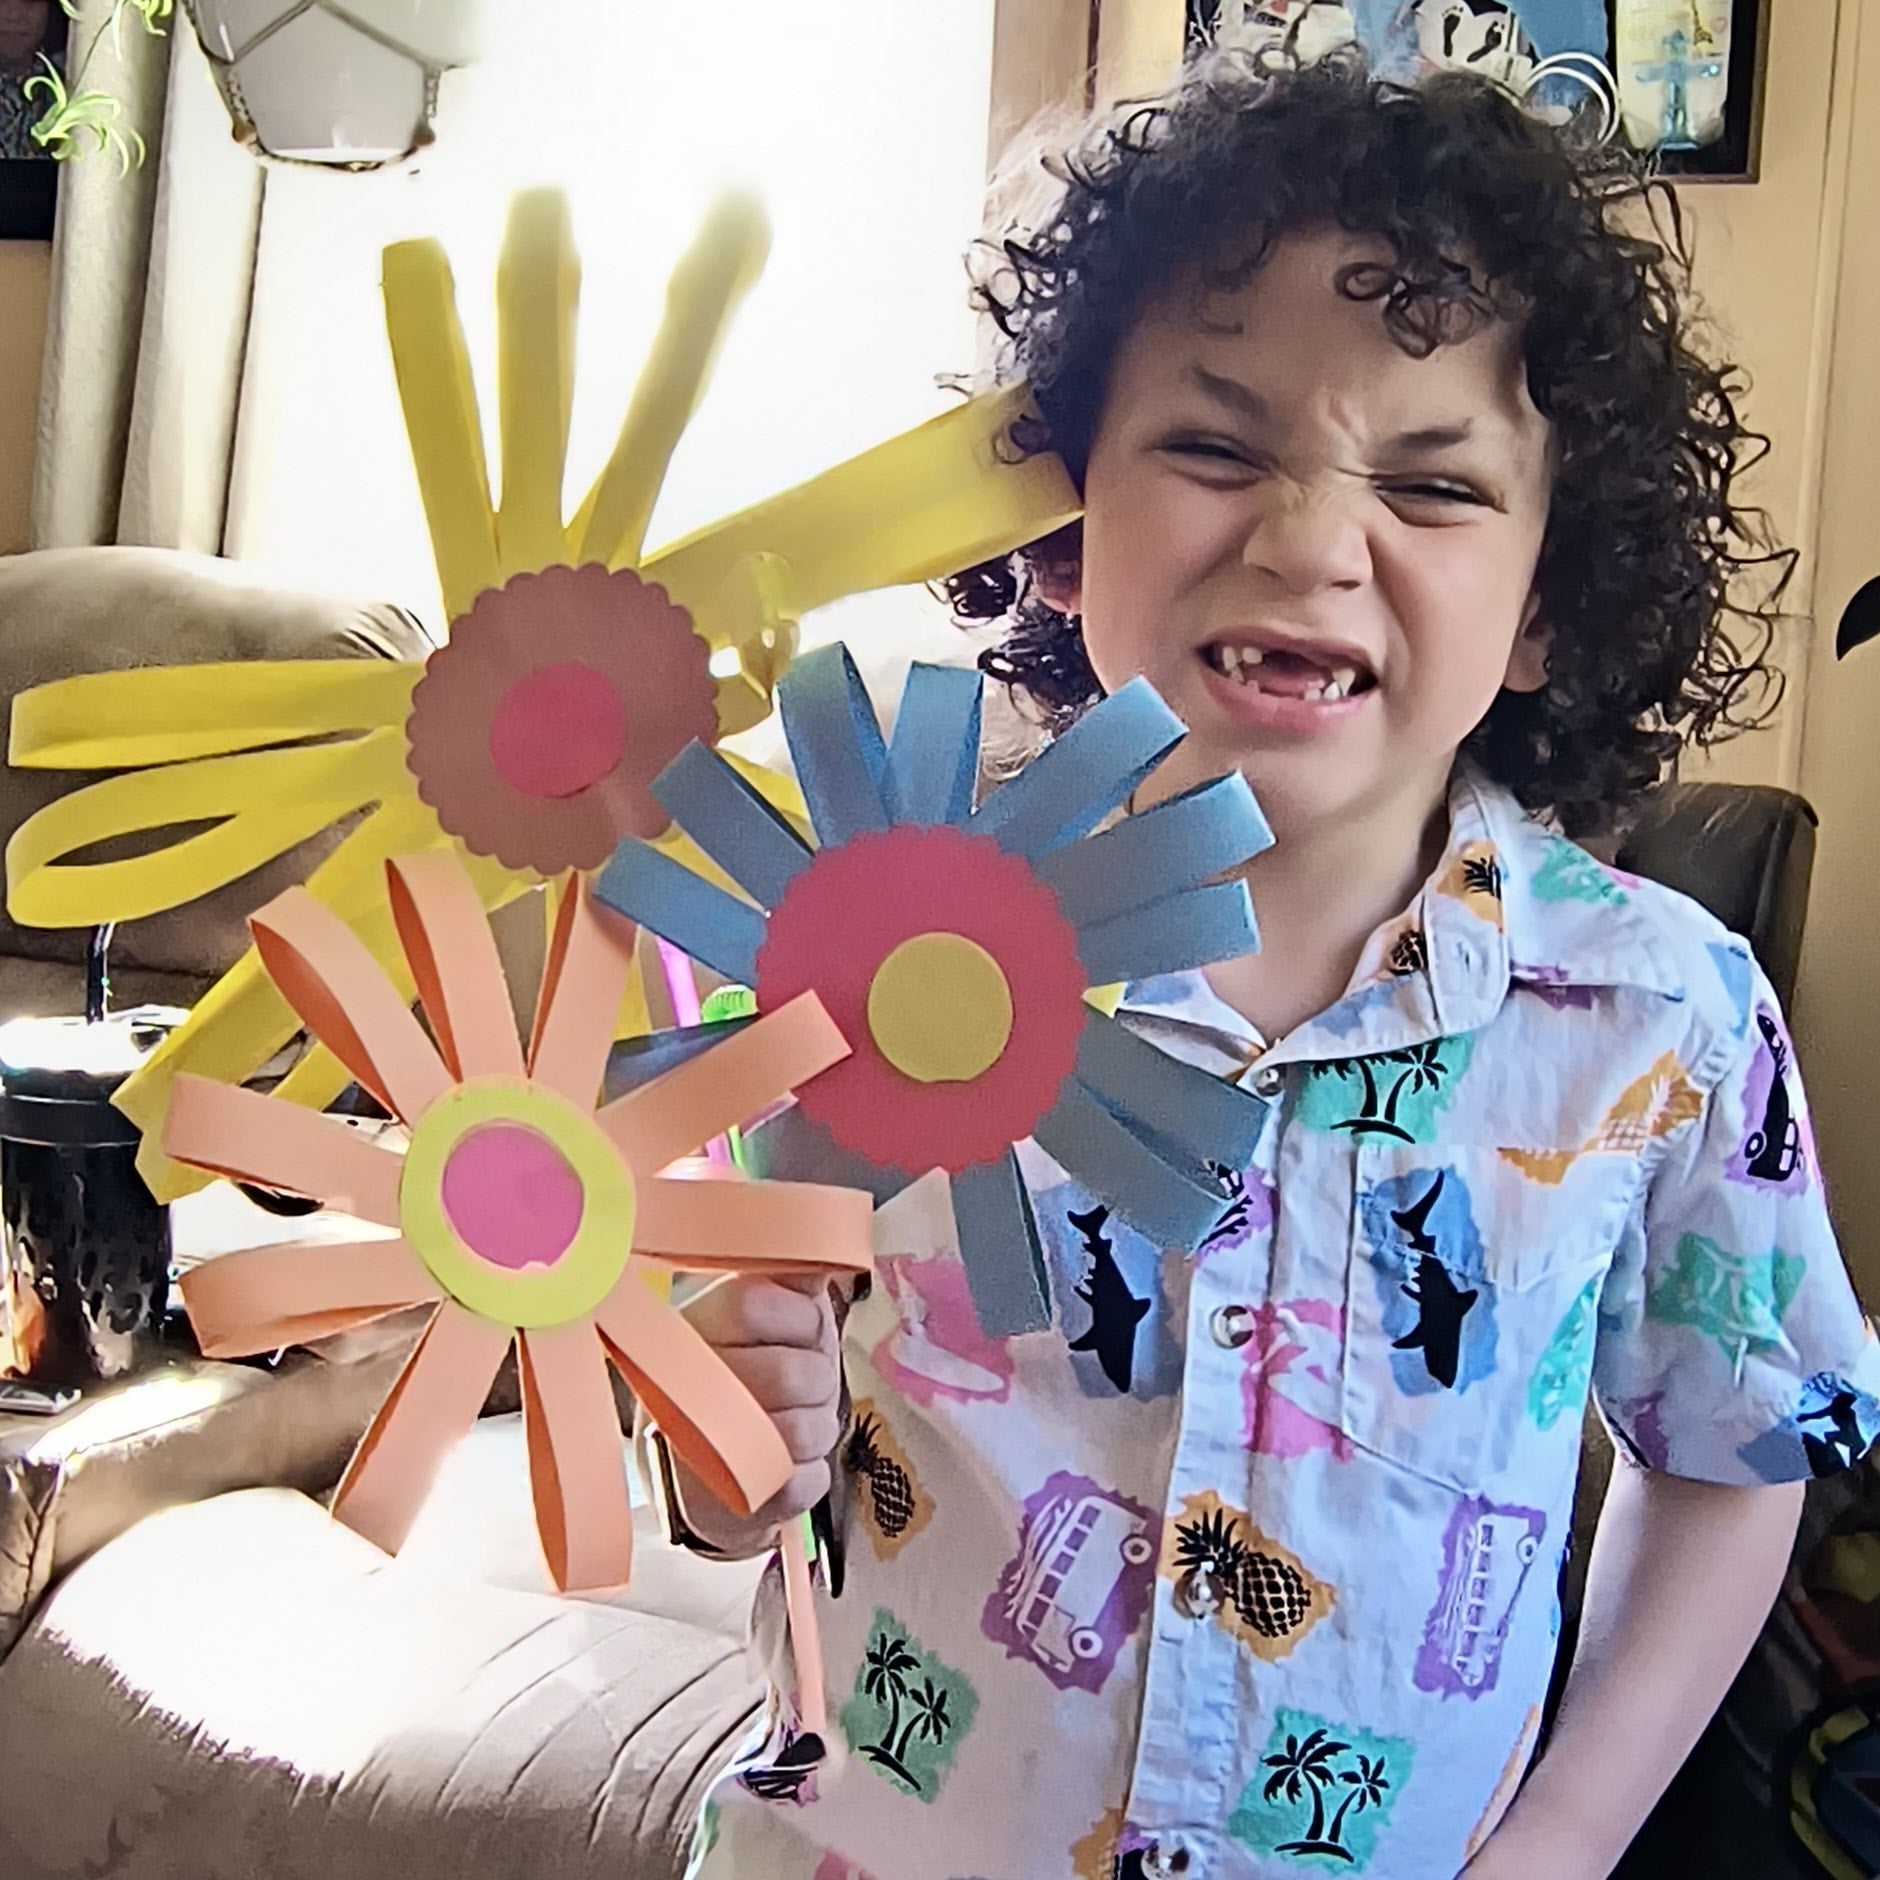
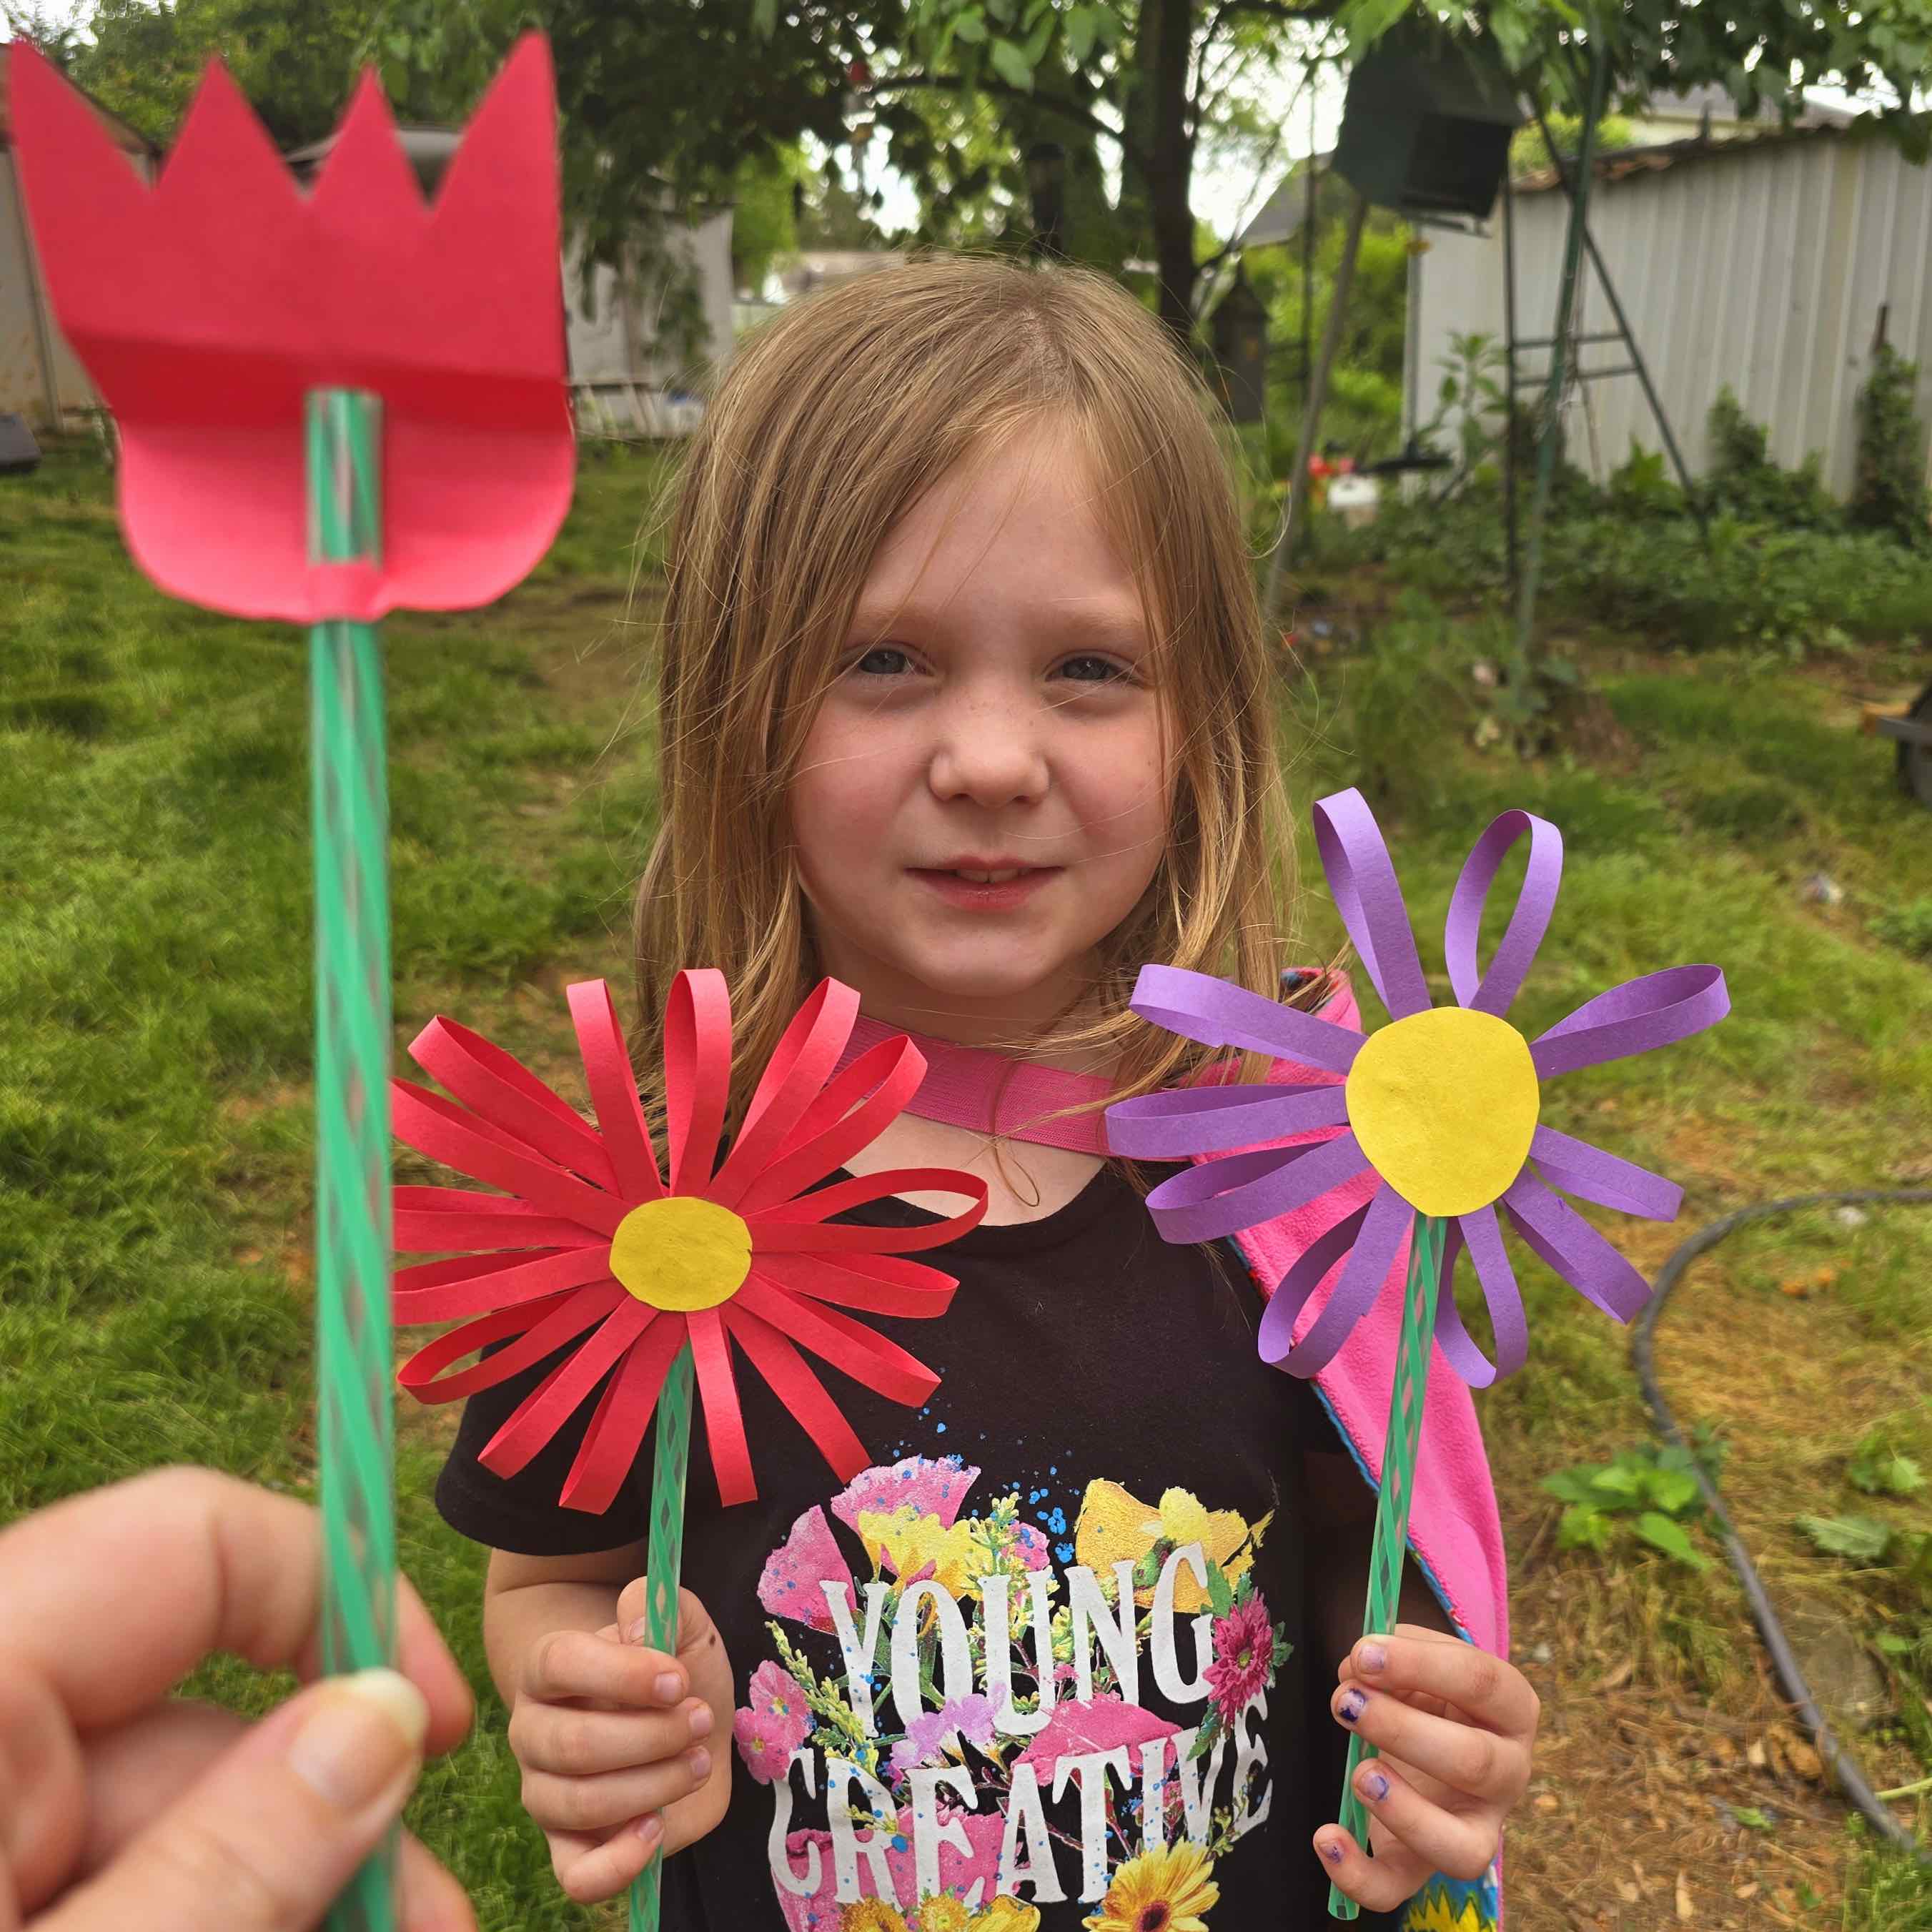
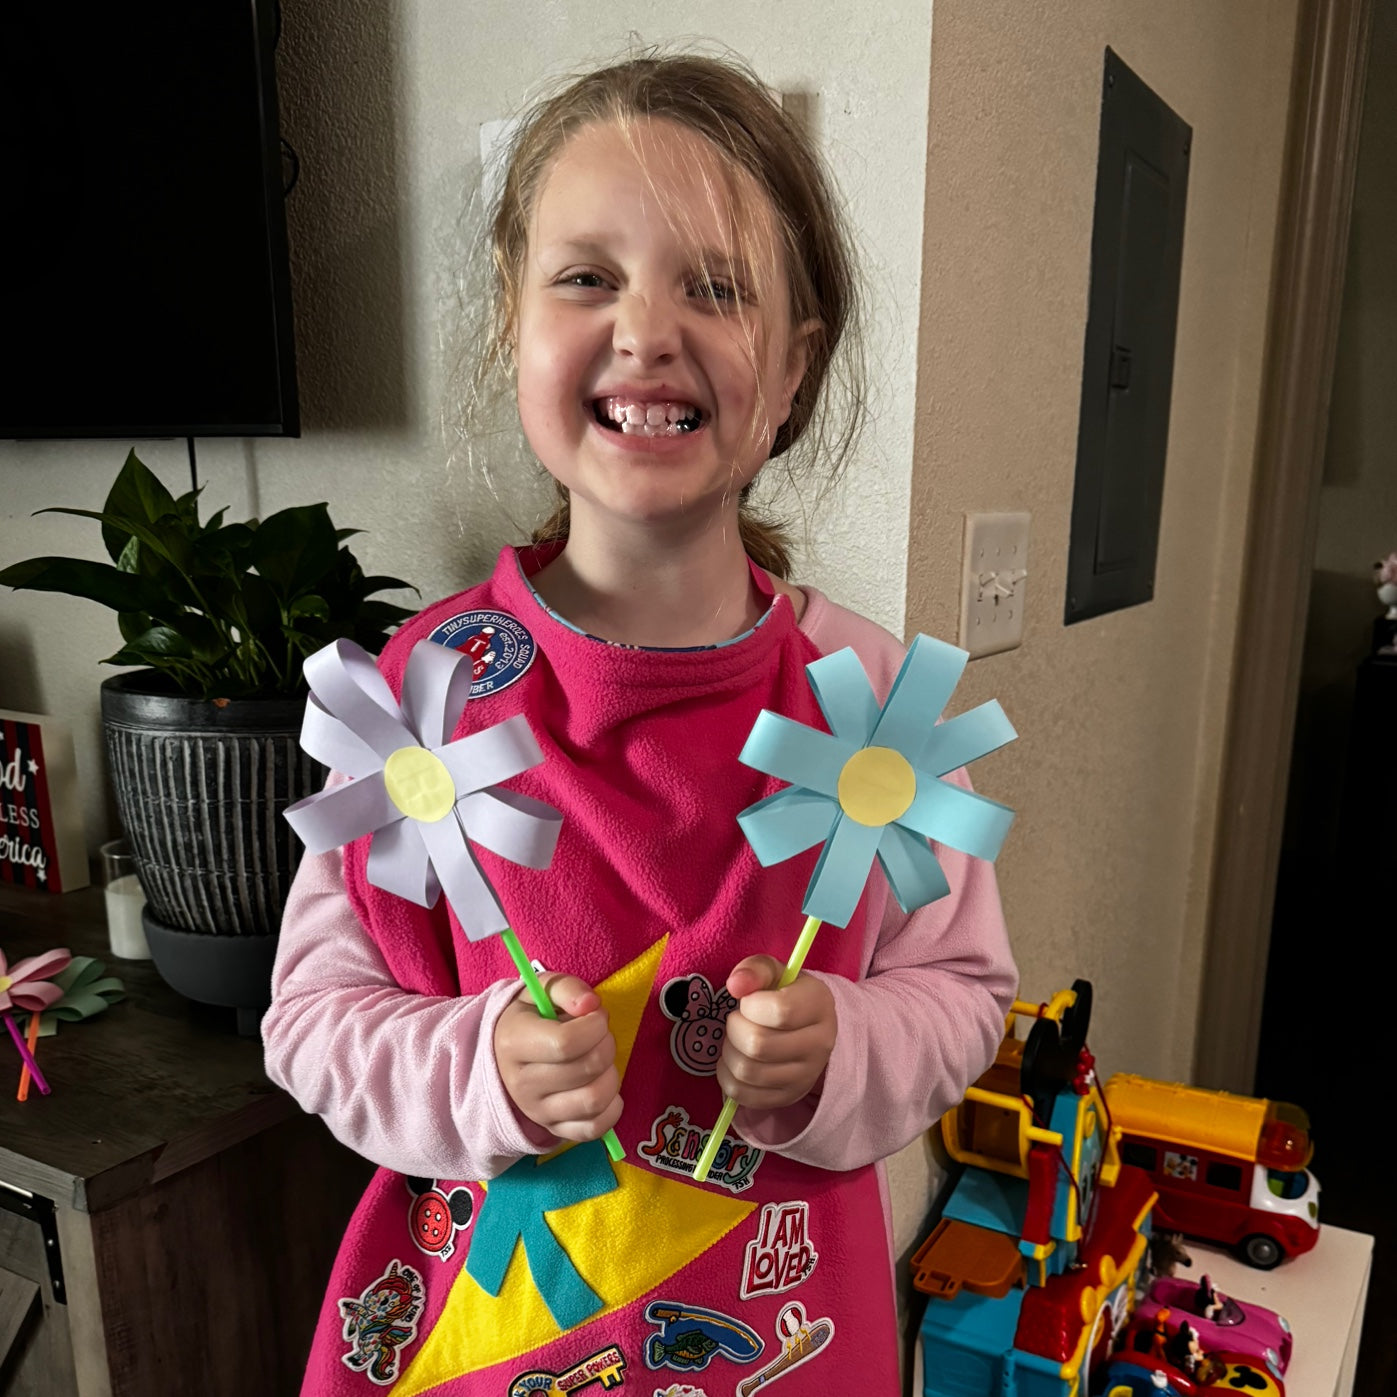
Create beautiful flowers as a reminder to ourselves and others that Hope never stops blooming!

Below are instructions for one way to create beautiful paper flowers! Feel free to get creative and make flowers in a totally different way if you prefer!
Paper Flower Instructions
1. Cut thin strips of paper. You will want anywhere between 6 and 16 strips for each flower. You can make the strips any length or width, but guidance, strips that are 6" long and .75" wide work really well!
2. Next, put glue on the end of the strips of paper and join the edges together to form individual petals.
3. When you have glued all the petals it’s time to start to start assembling your flower. Cut out a circle for the center of the flower. You can trace a bottle cap or cut it free hand.
4. Start glueing the petals to the circle forming a cross. Then continue to place each petal diagonally from each petal until you have used all the petals or you are happy with you flower!
5. Once the glue has dried turn the flower over and use tape to attach a straw to the back of the paper flower!
1. Cut thin strips of paper. You will want anywhere between 6 and 16 strips for each flower. You can make the strips any length or width, but guidance, strips that are 6" long and .34" wide work really well!
2. Next, put glue on the end of the strips of paper and join the edges together to form individual petals.
3. When you have glued all the petals it’s time to start to start assembling your flower. Cut out a circle for the center of the flower. You can trace a bottle cap or cut it free hand.
4. Start glueing the petals to the circle forming a cross. Then continue to place each petal diagonally from each petal until you have used all the petals or you are happy with you flower!
5. Once the glue has dried turn the flower over and use tape to attach a straw to the back of the paper flower!


Step 3
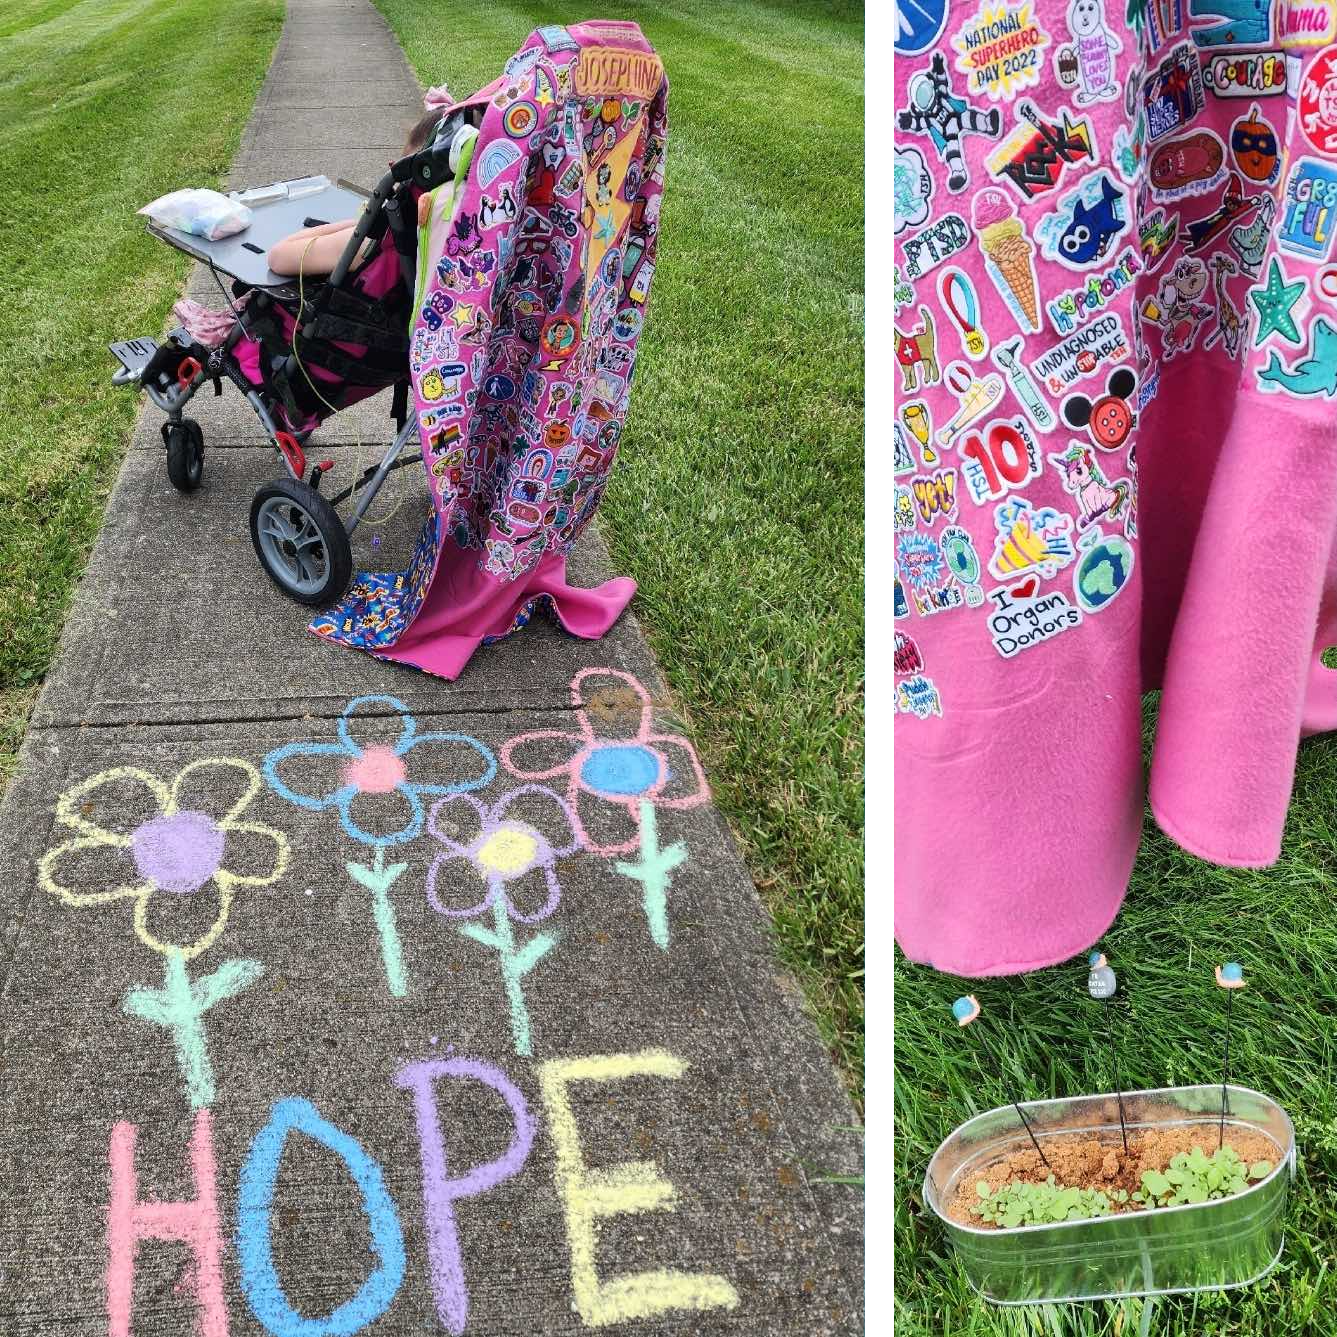
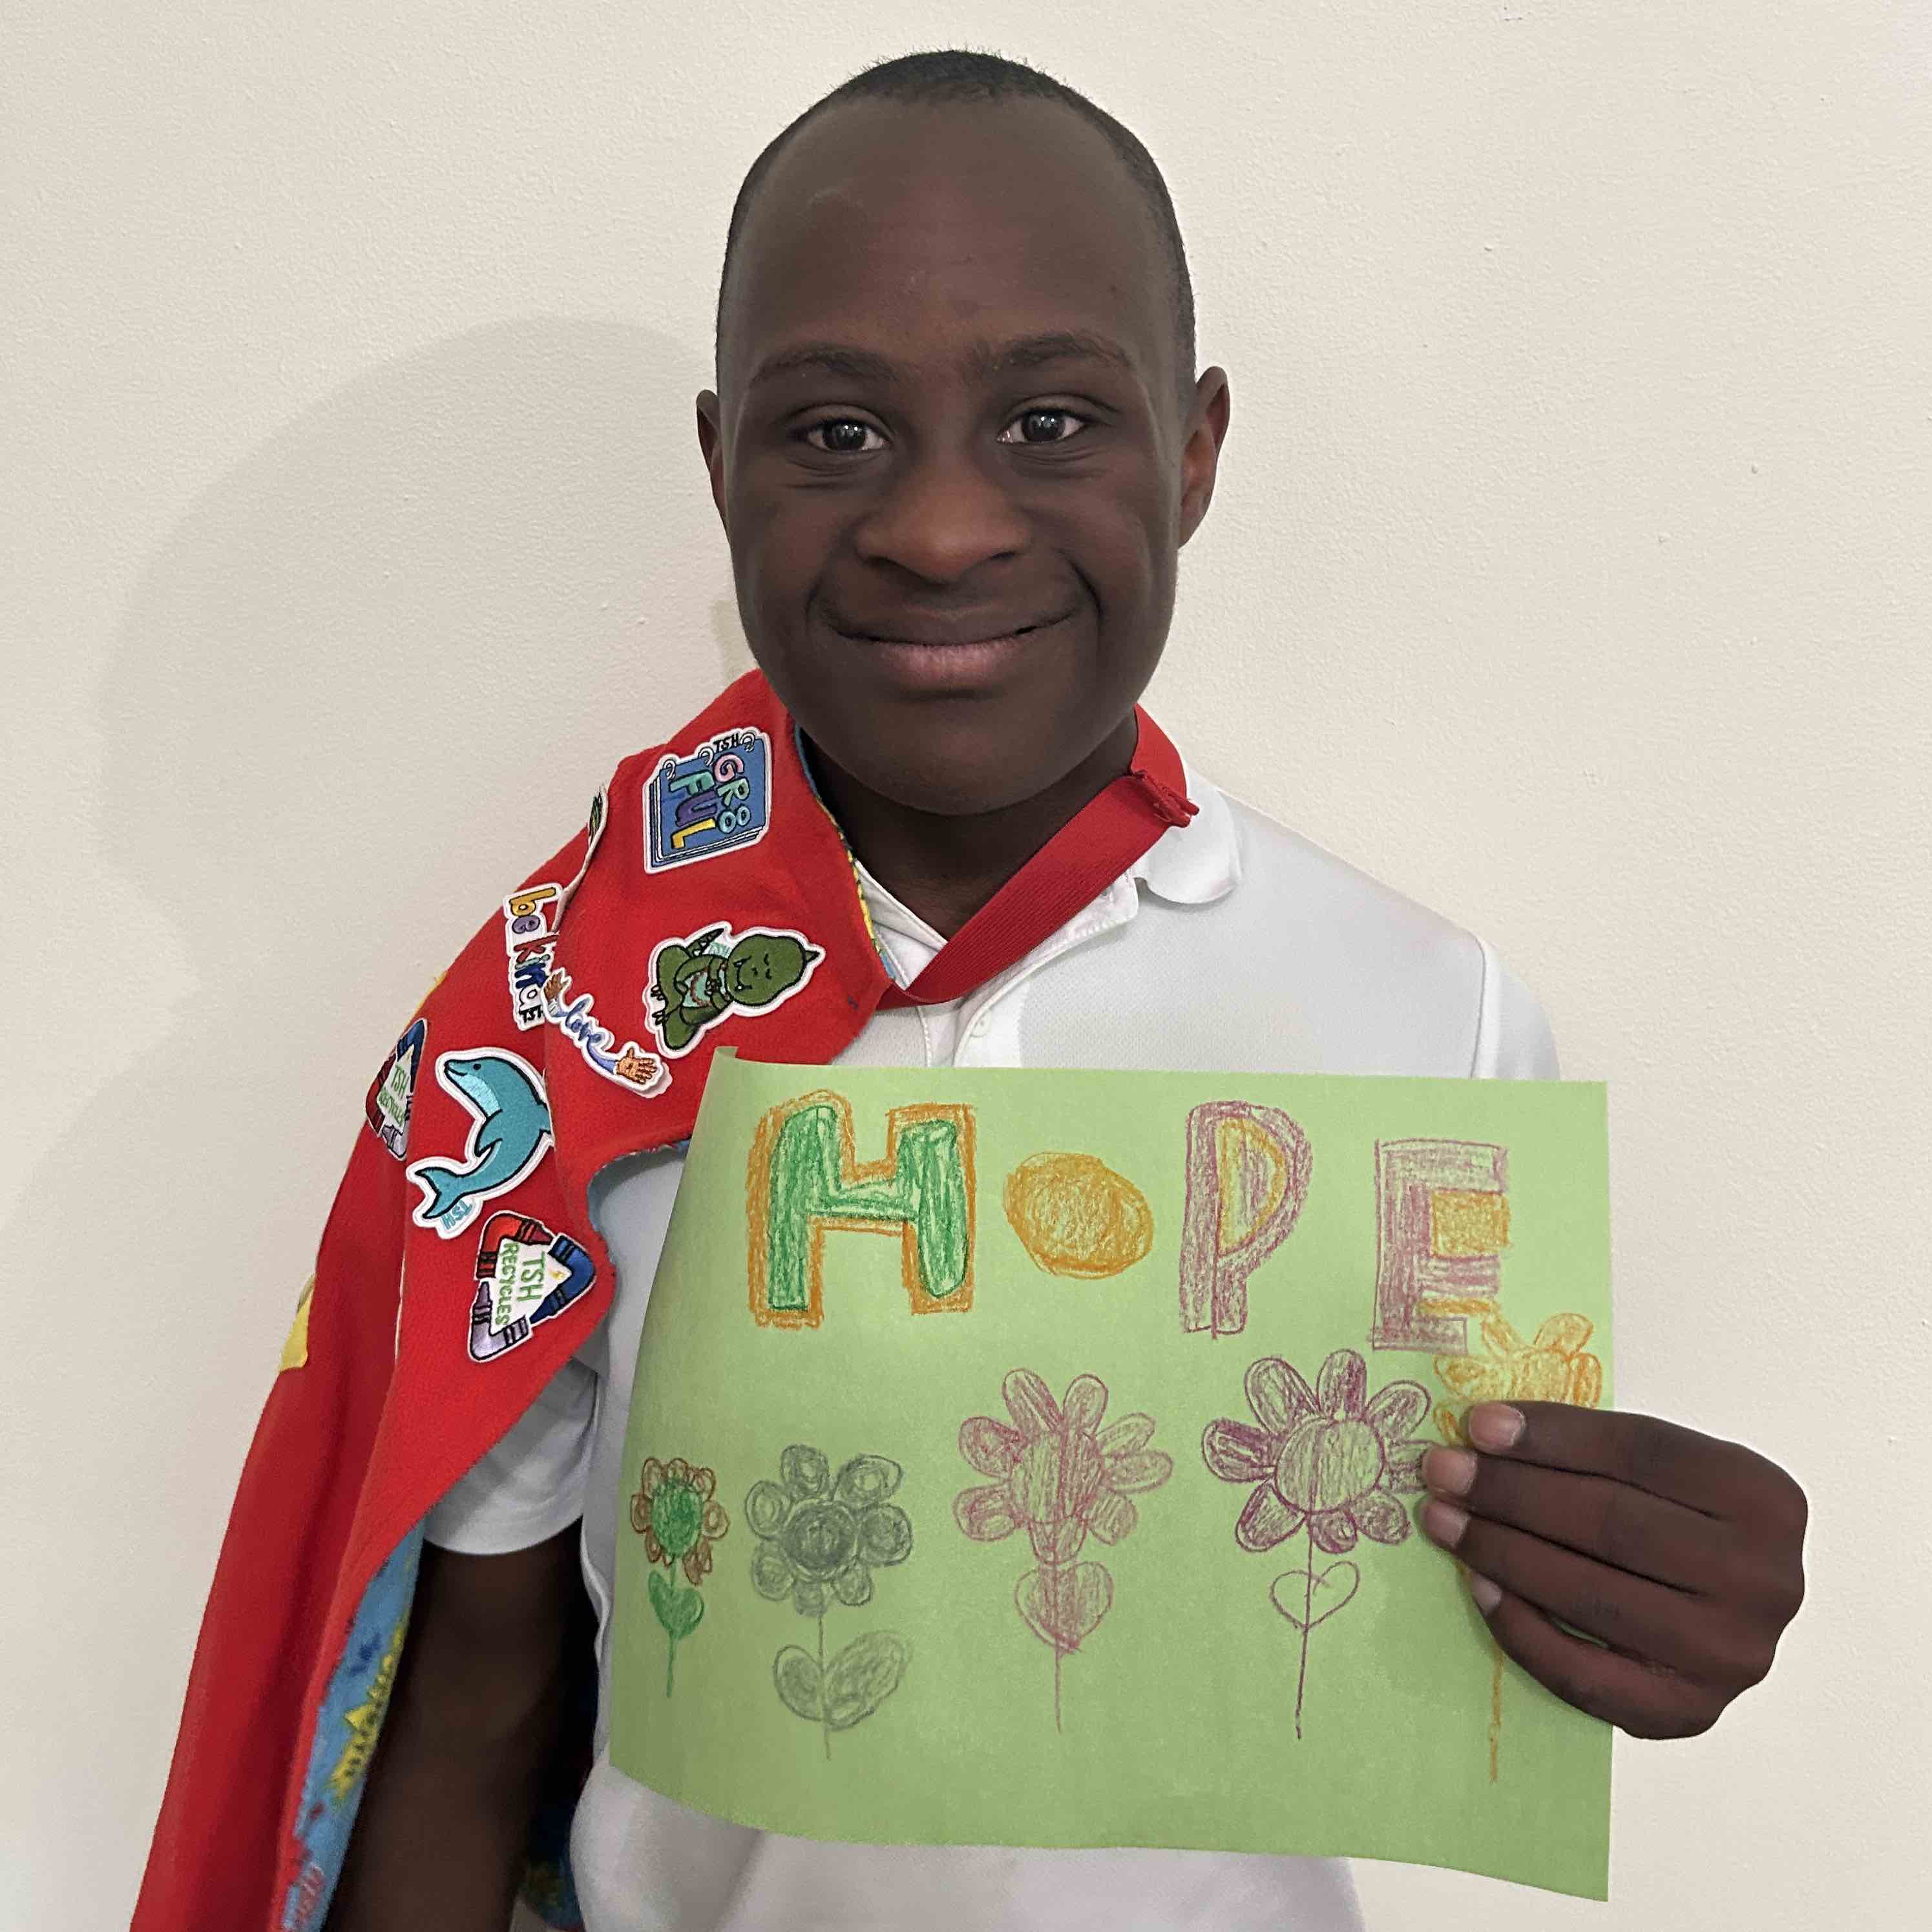
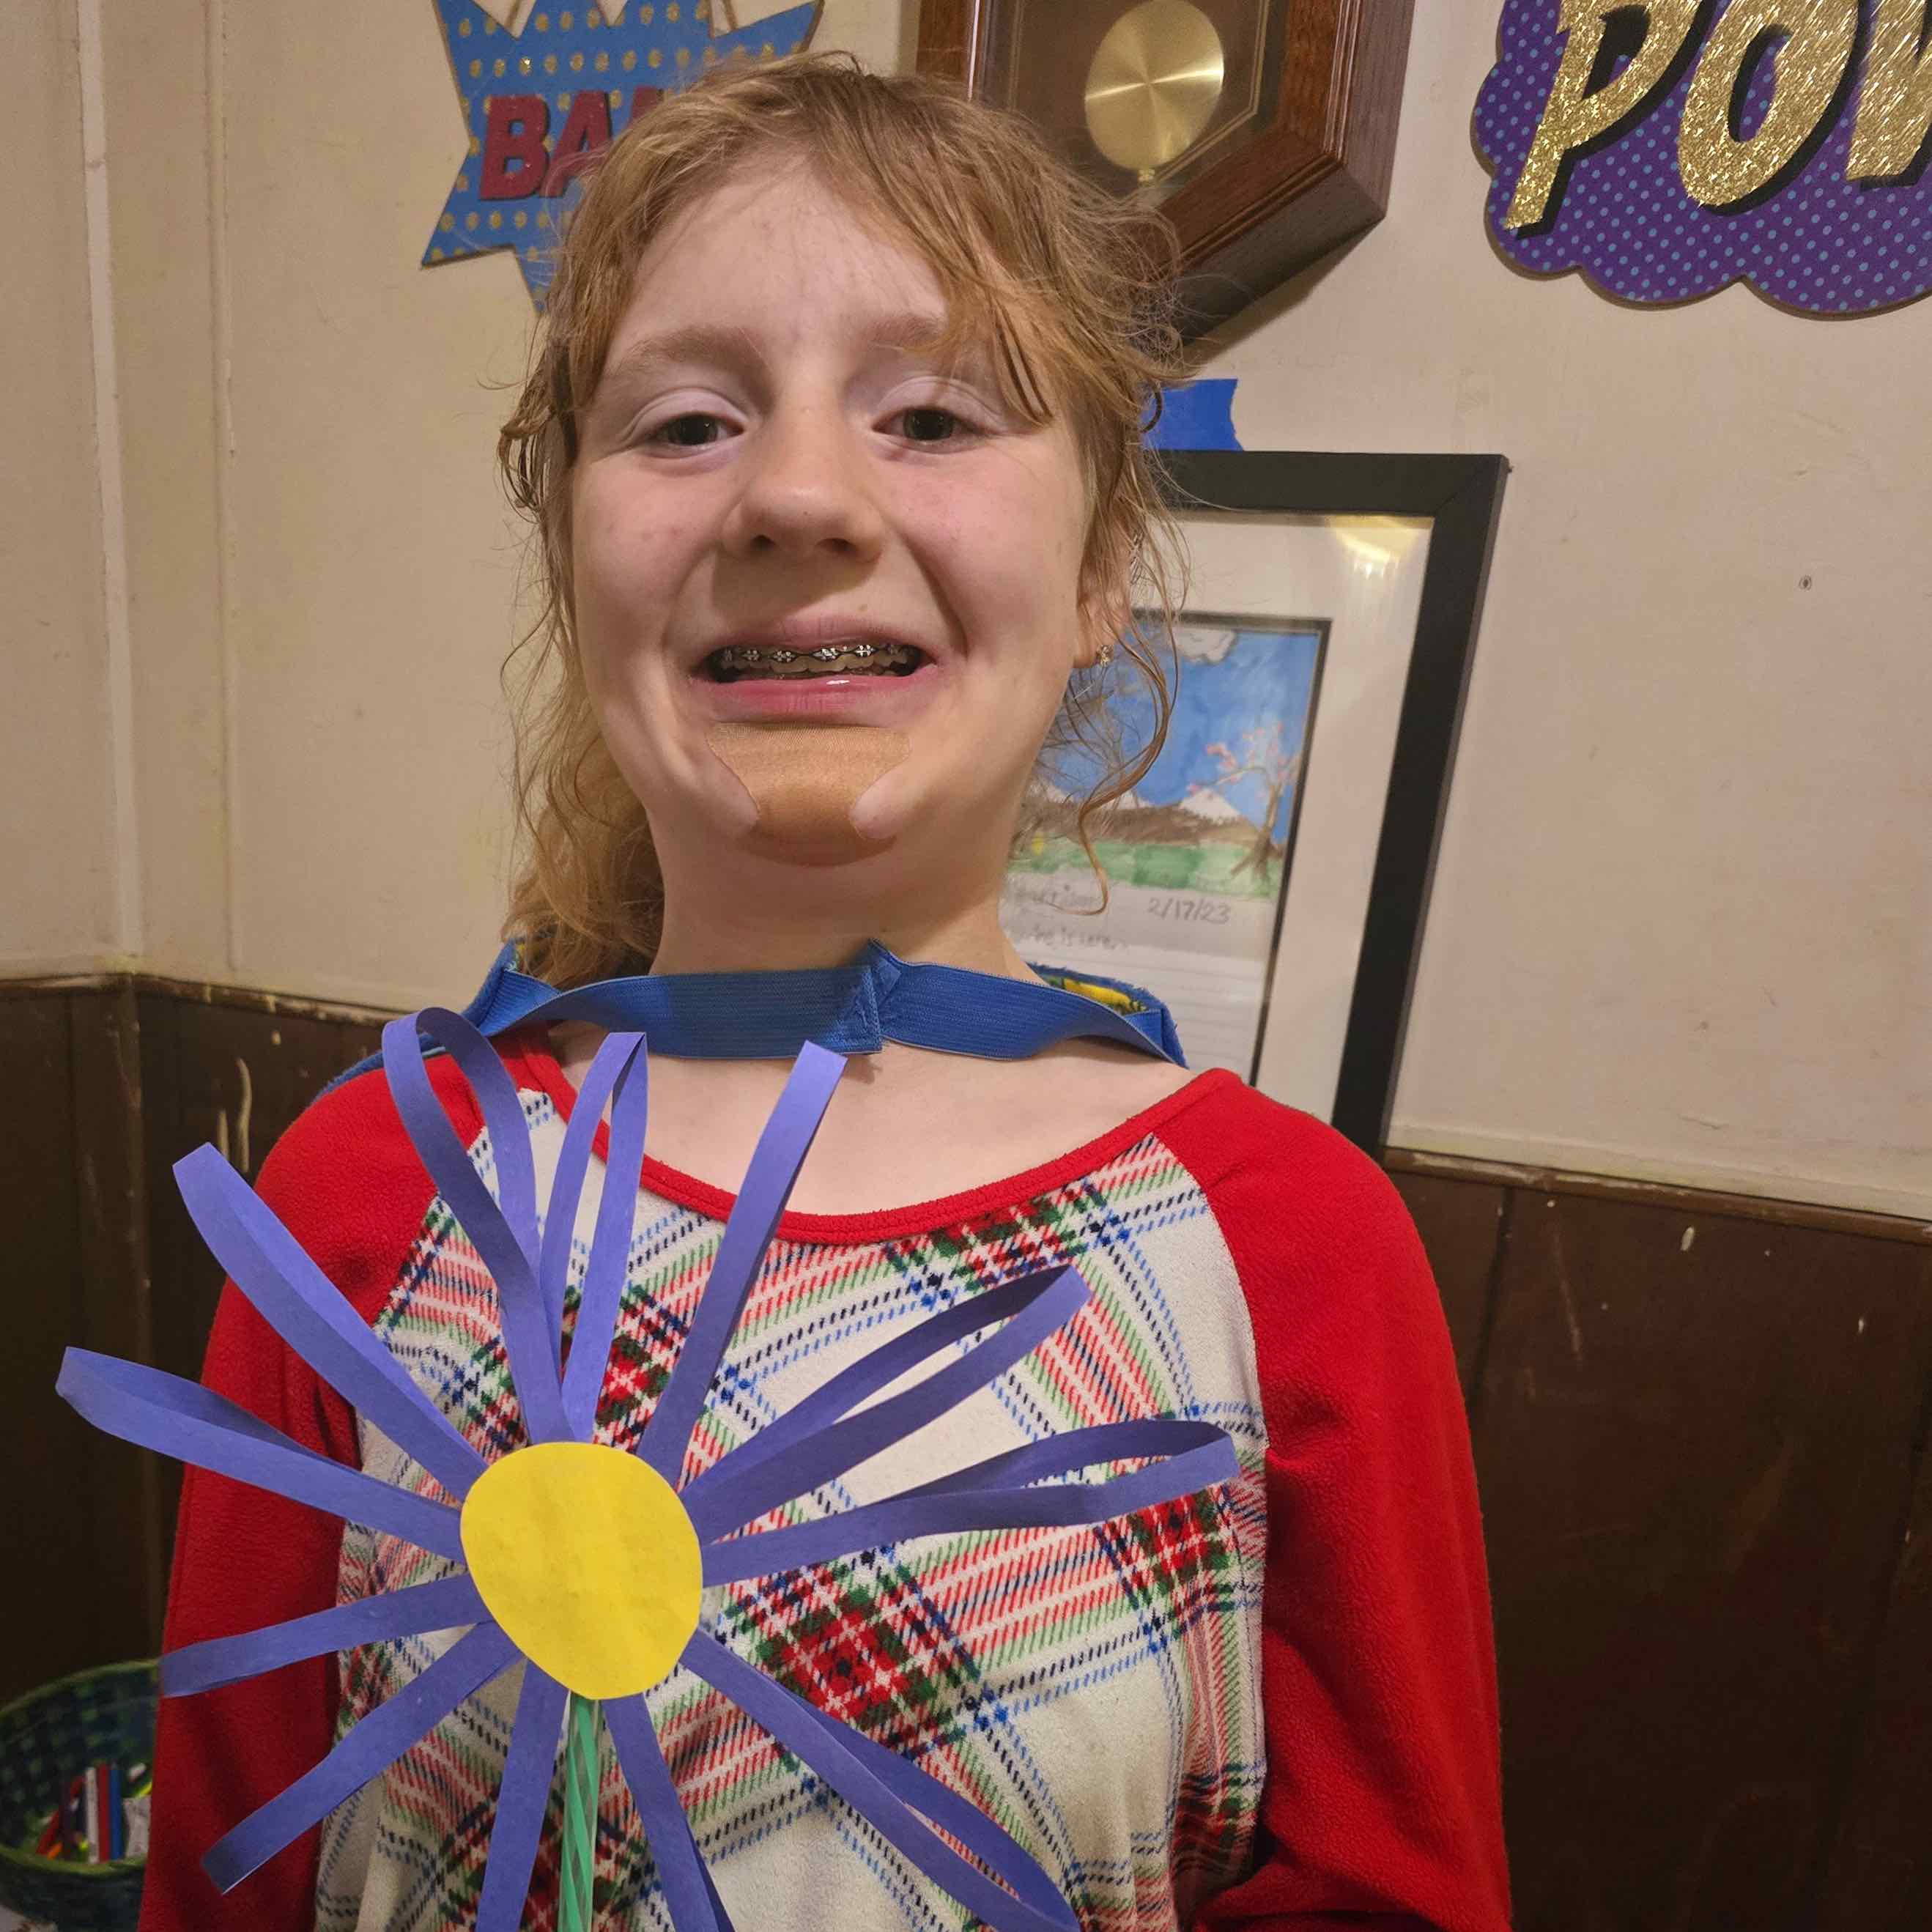
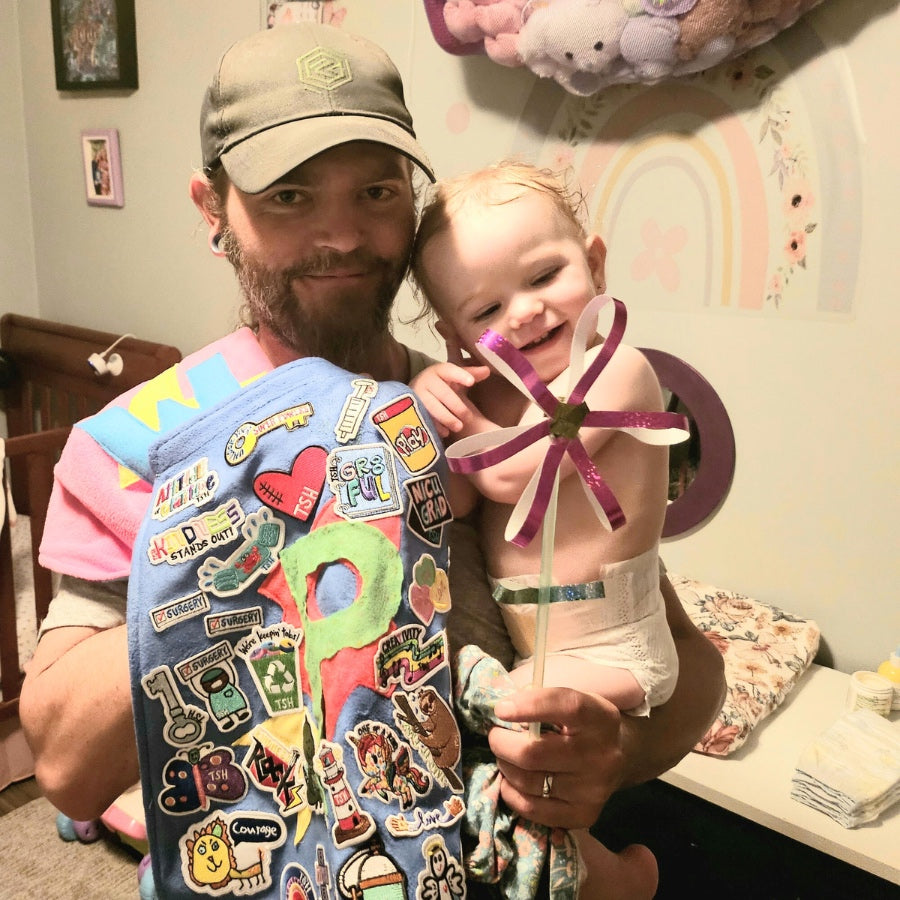
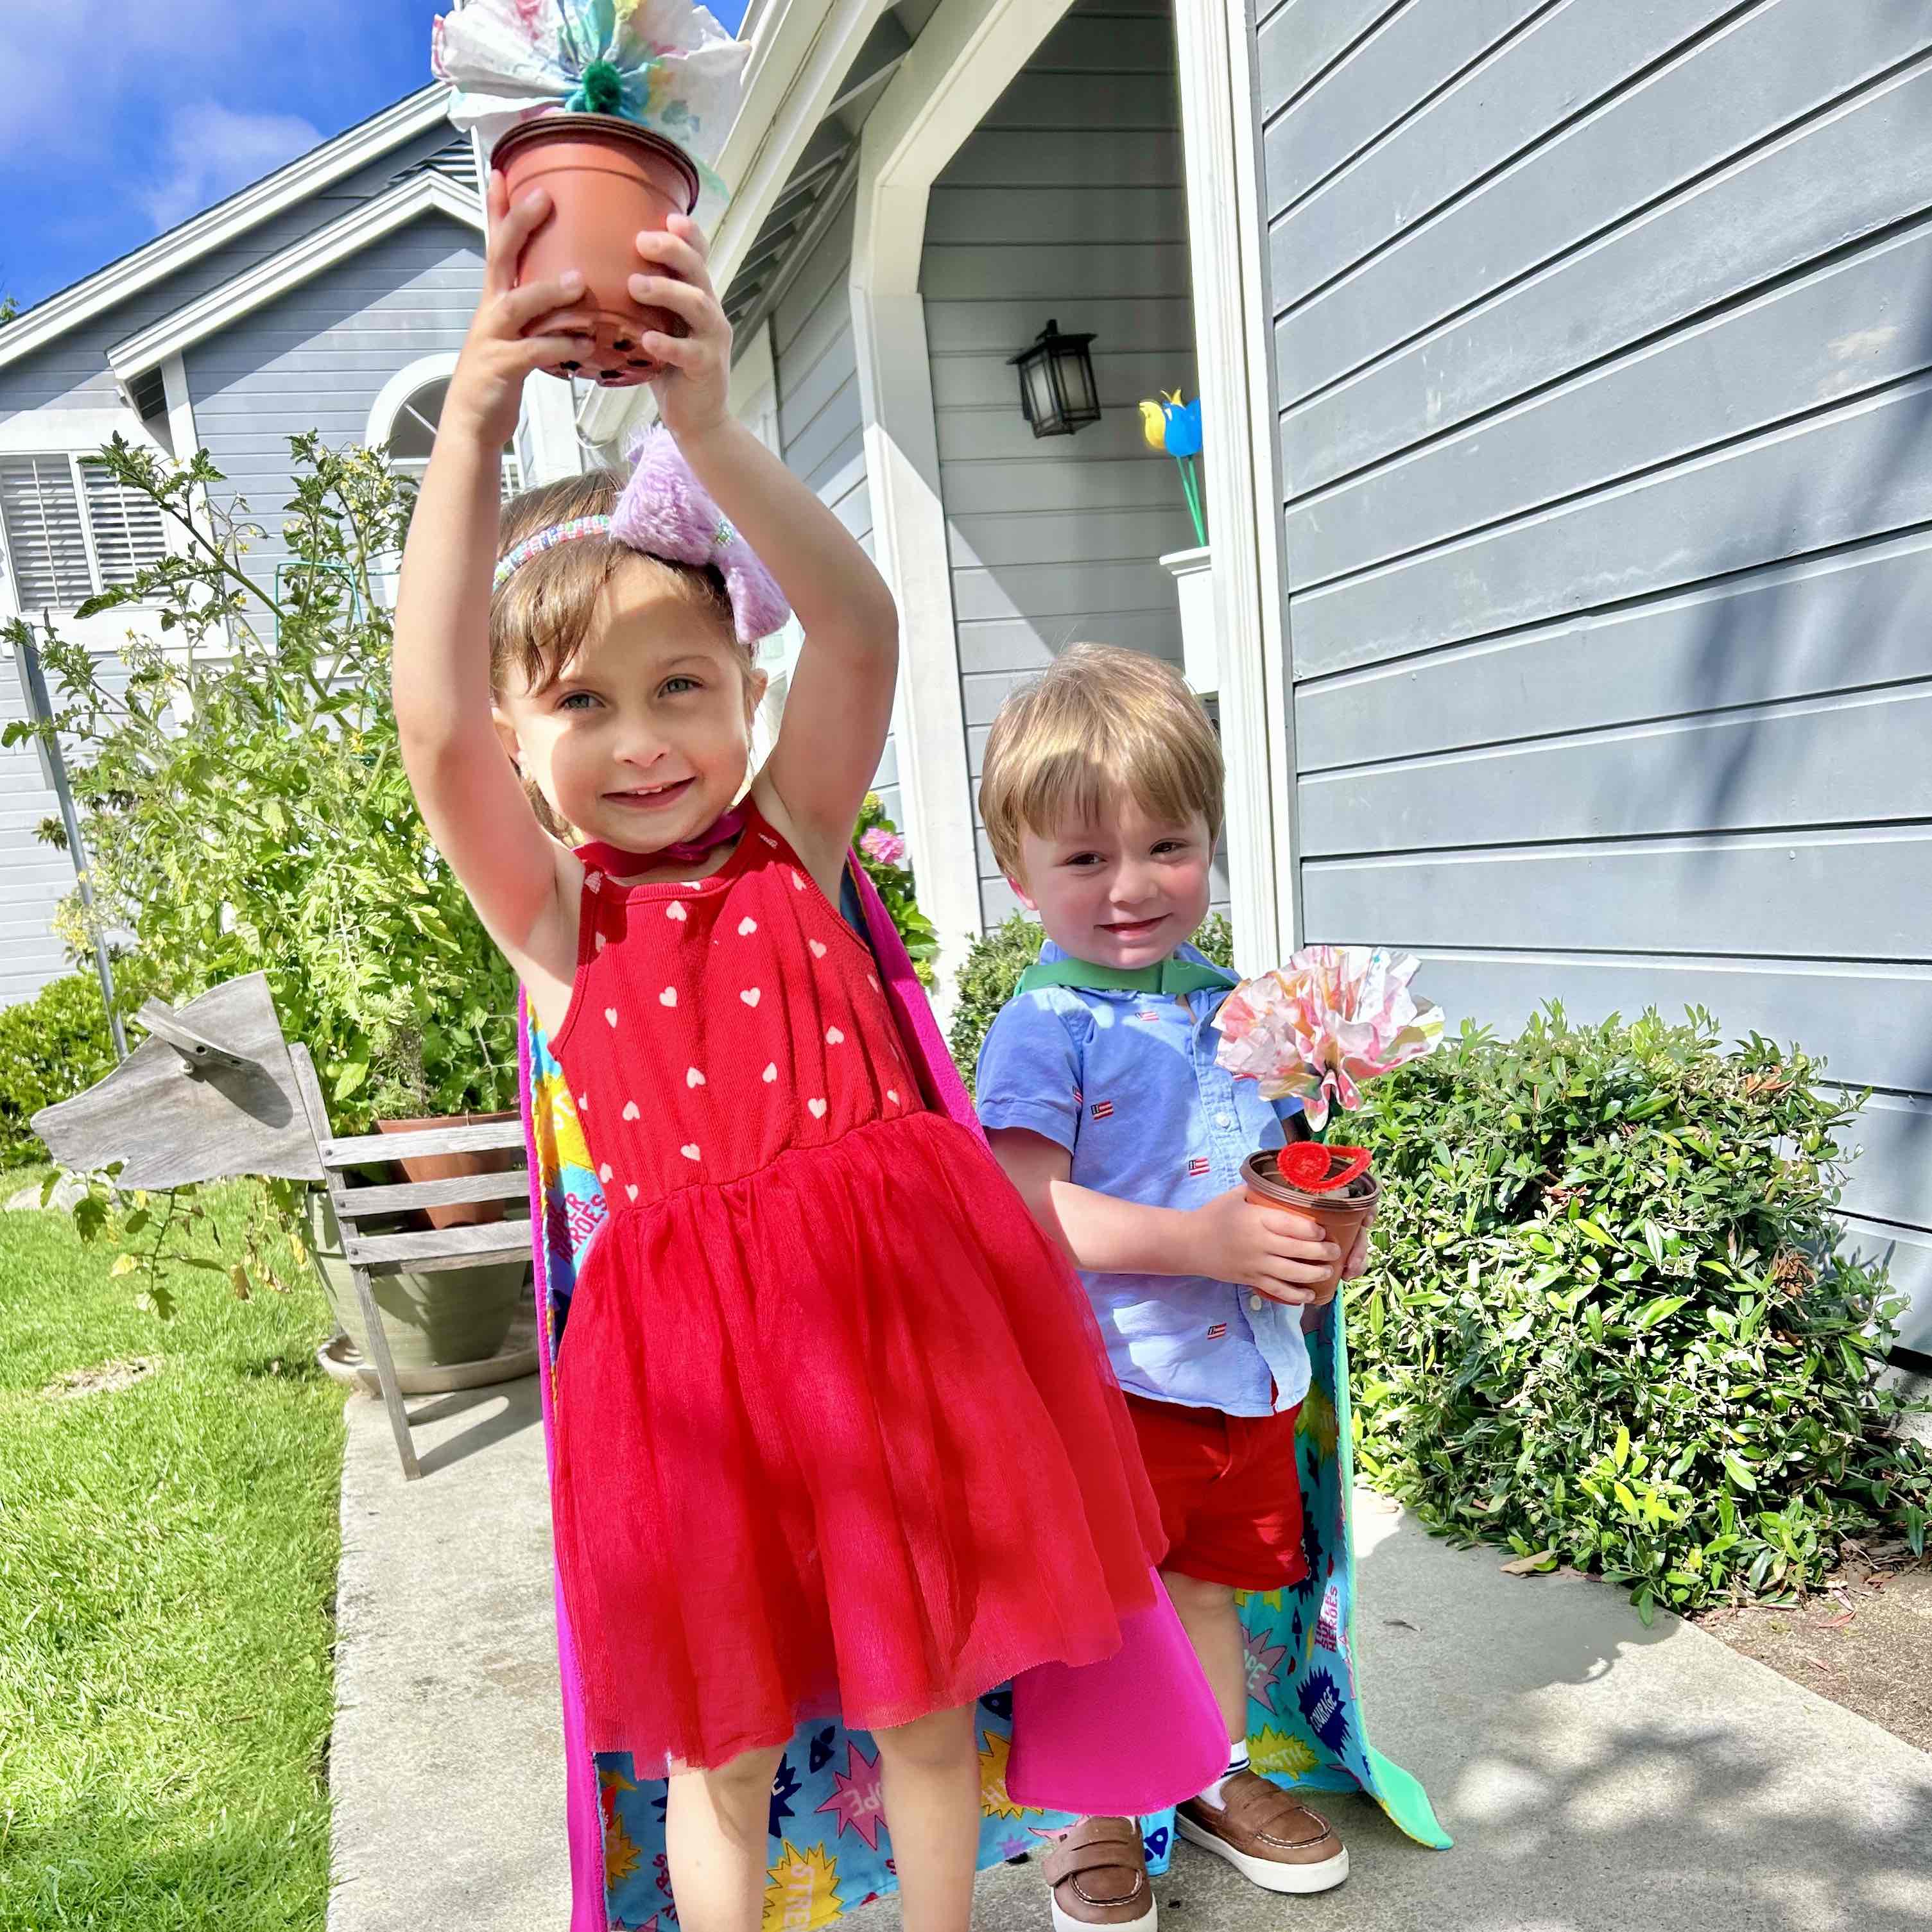
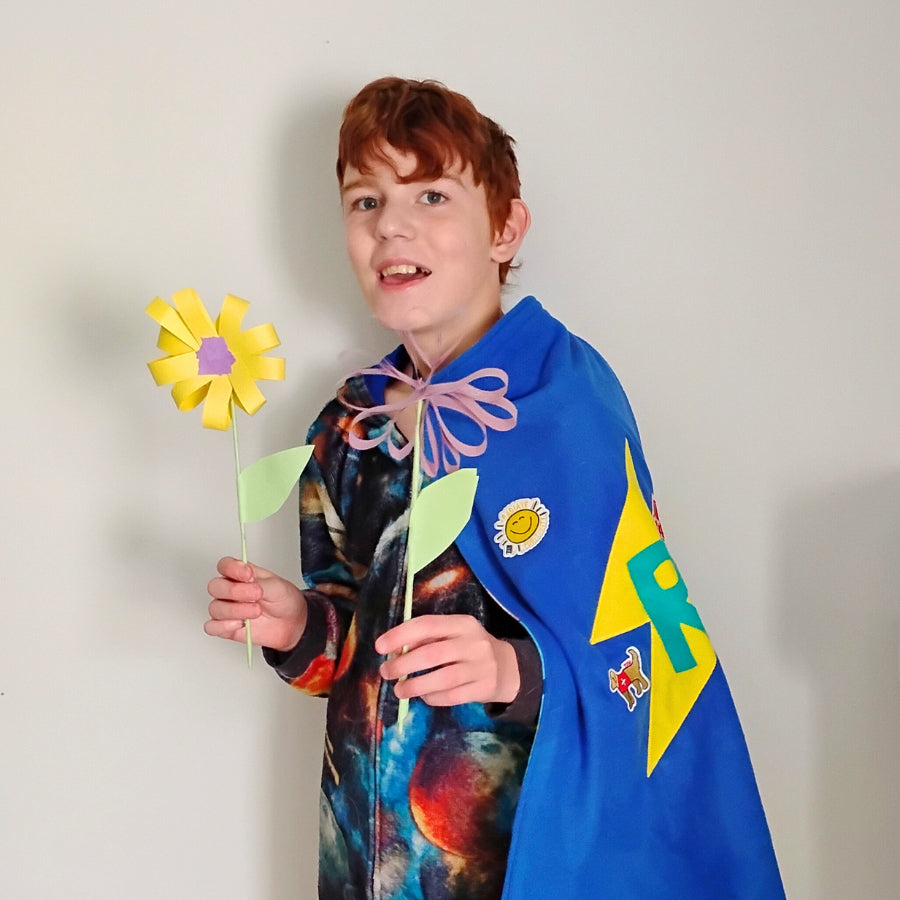
Take a photo of you with your flower (and Cape if possible)! You'll use this photo when you submit your Mission!

Step 4
It is important for you to remember that Hope is a superpower that comes back again and again. Keep one or more flowers nearby as a reminder!
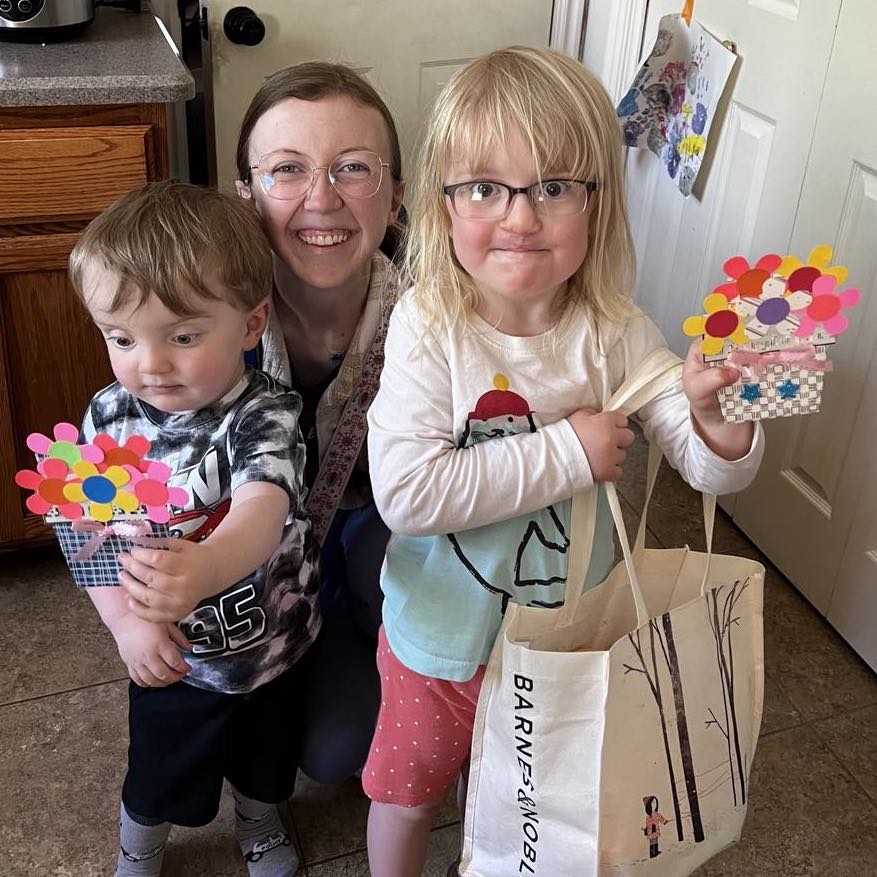
Then, it's time to share our Hope and remind others that their Hope always returns, too! Think of people in your life who you would like to share this with and give them a flower as well! (Grandparents, teachers, therapists, nurses, friends, relatives...)
This Mission was live in May 2024, but the Patch & Mission Kit are available in the Shop! ➡️
